How to use Workflow for Automation
Create Workflow
Click on Agent button which is available in App Screen on Top. Check the Picture below:

Once clicked, it opens up the workflow space. All old workflows will be available here. check the picture below
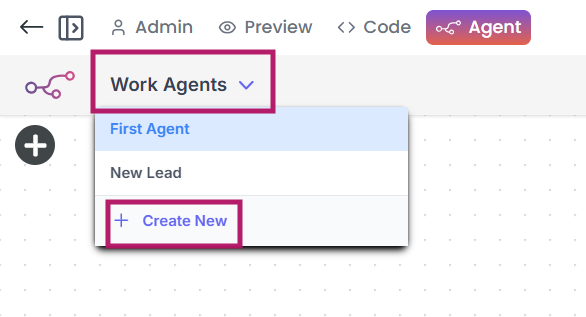
Only Admin will have access to create the workflows due to data security issues. In this guide, we will create one workflow for form submission. Let's give a name to the workflow as below picture.

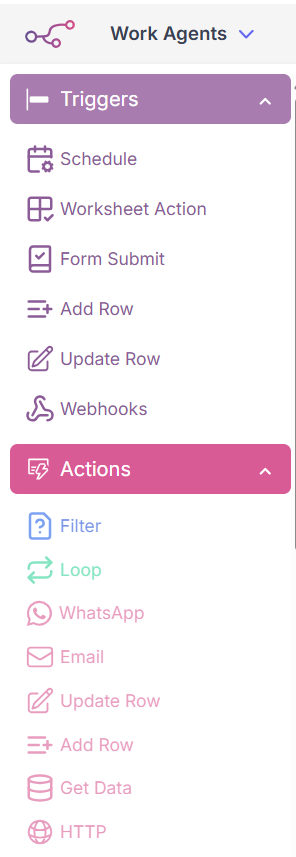
Check triggers and actions in workflow screen. First we have to set a trigger and then we can set Action based on that trigger.
Create an Form Submit Trigger
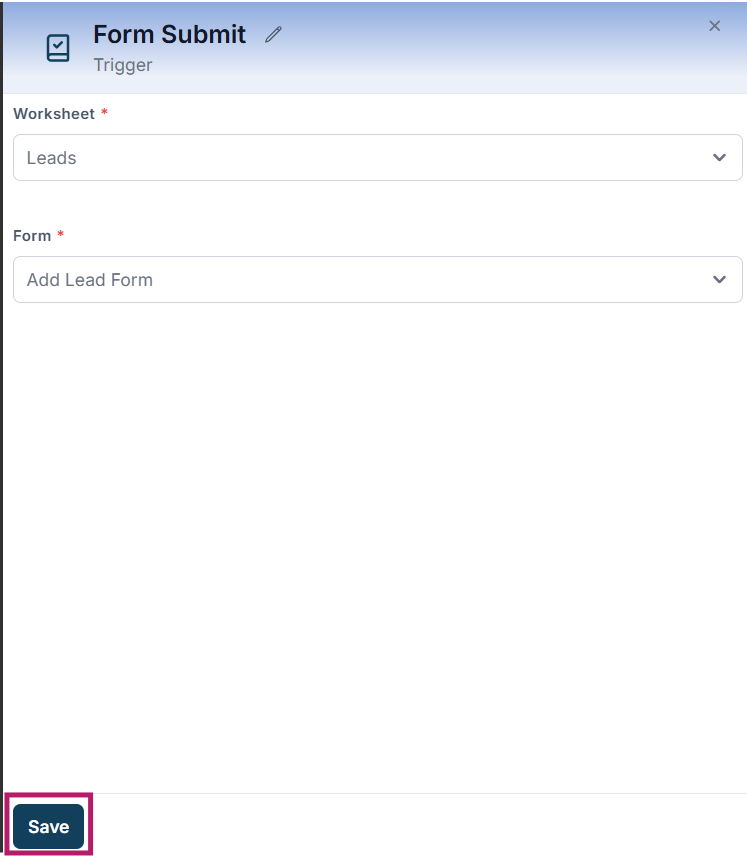
We can use Form Submit trigger to send an email to respondent or whoever is relevant to receive that notification.Drag form submit trigger on to canvas and select worksheet, then corresponding form will show up. For example, we select Leads worksheet and Add Lead Form will show up in the list. After selecting form Save this Trigger. Check the pictures below:
Create an Email Action
Now time to add an Action. Drag email into canvas. check the picture below:

Connect Trigger and Action
One can set the email compose screen. How to configure this screen is part of another tutorial of email sending. Refer to article-
https://tablesprint.com/docs/Notifications/Send-Email.
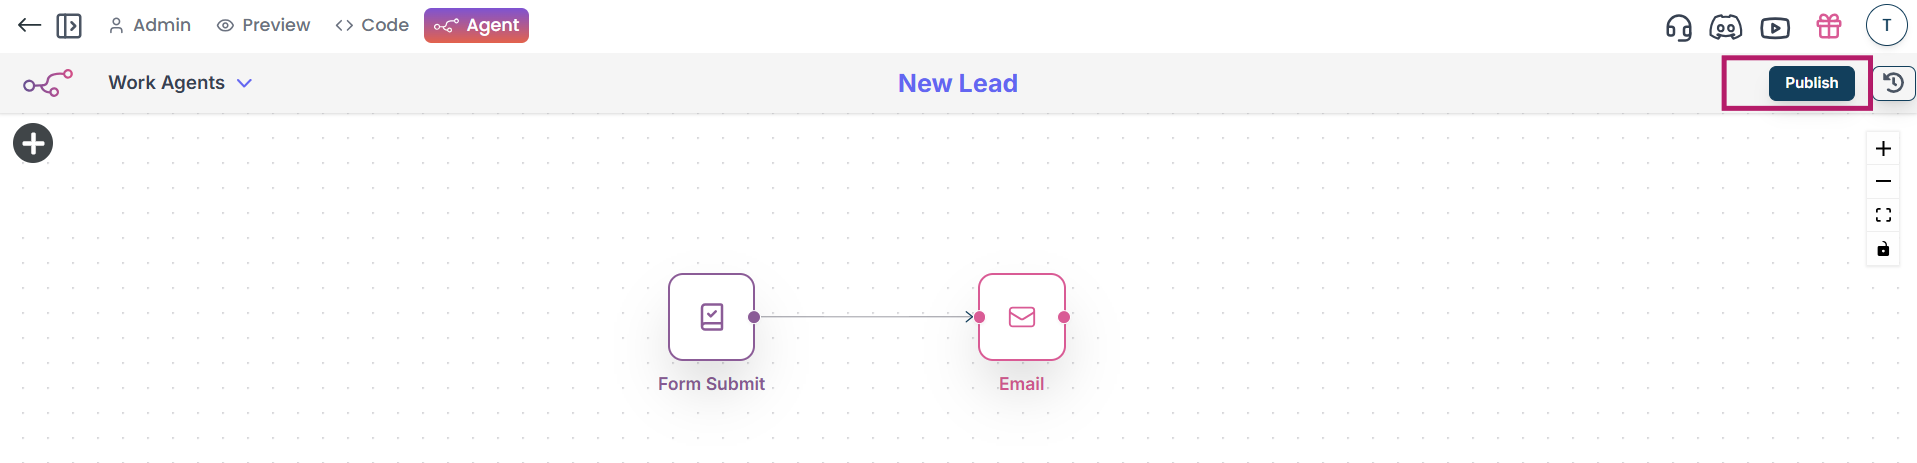
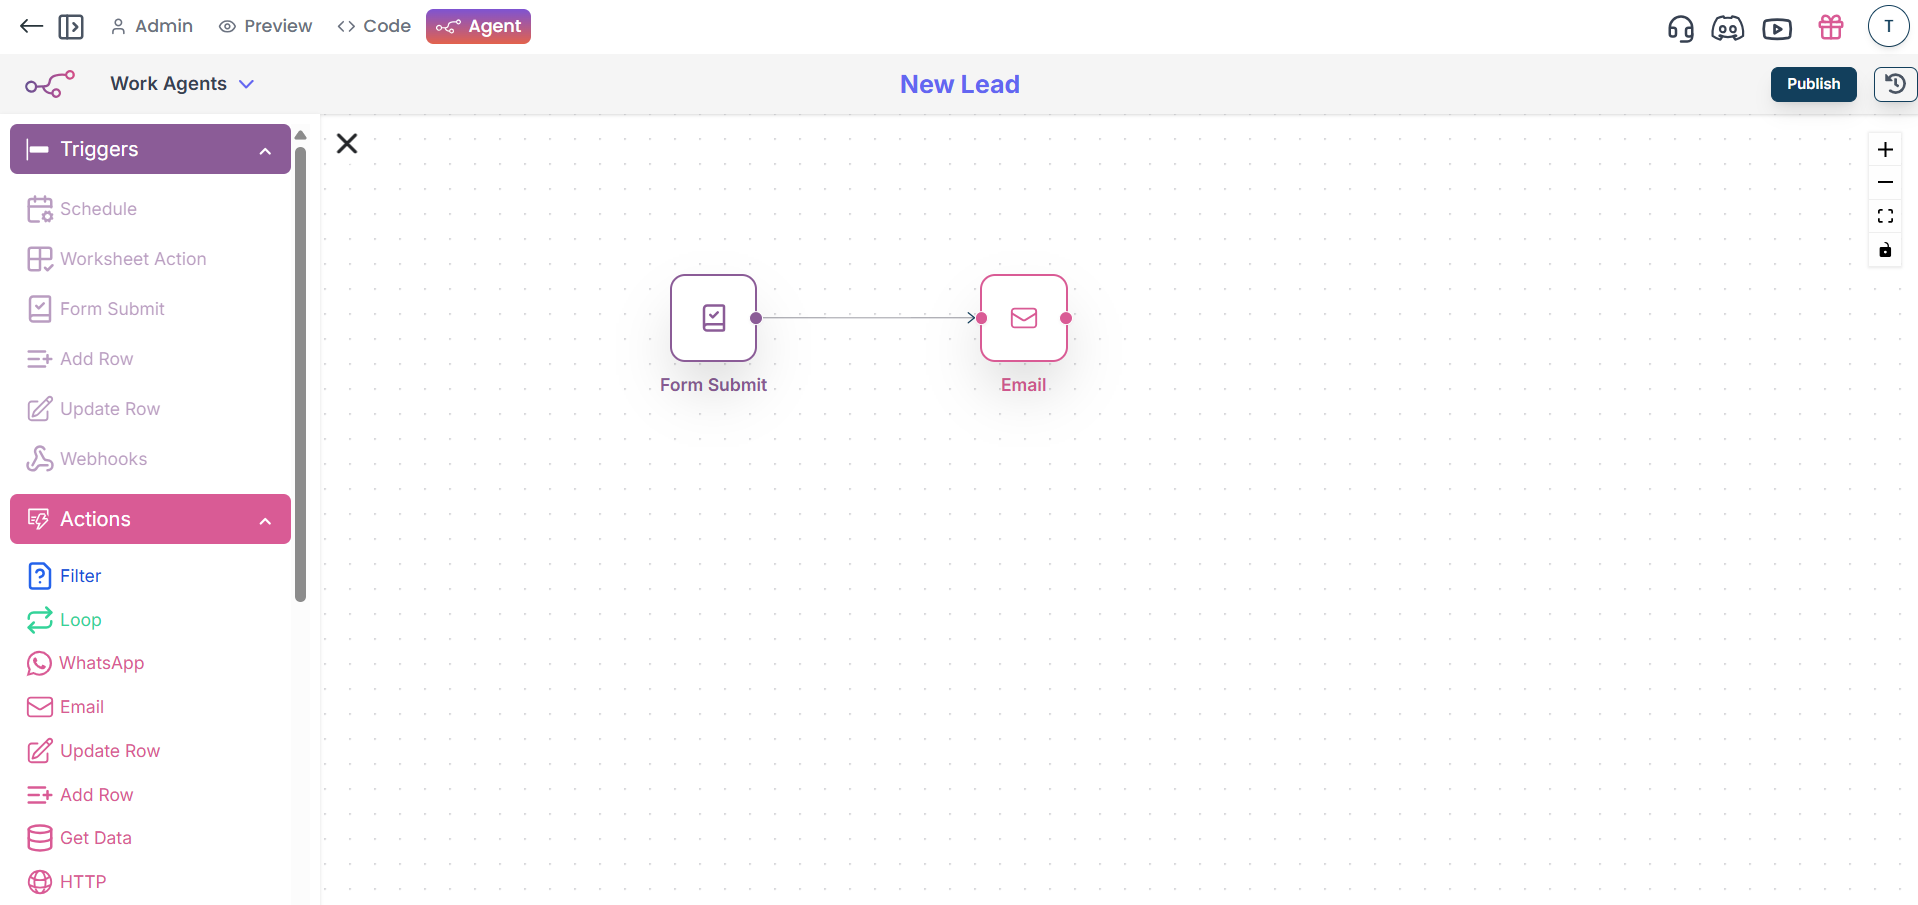
After setting up emails we can just connect trigger and action. Whenever someone submits lead form a mail will go to the selected participants. Check the connected picture below:
Save the Workflow
Don't forget to save the workflow as picture below.